|
|
Oliver Monk 'Workshop Ramblings' 2013 |
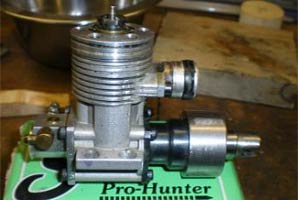
I intend to run my 2.5cc car more this season, and I have a new engine which I am going to use as a spare. It needs a few bits doing to it so its ready to race, which includes a full strip down, just to check nothing is lurking inside that shouldn’t be there, metal particles etc.
|
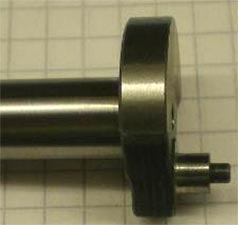
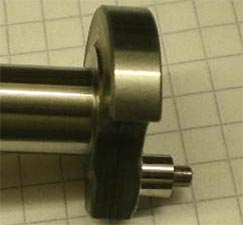
The crankpin had a polish. You can see the difference in the two pictures. This should help reduce the chances of the big end picking up. The rotor that drives the Zimmerman disk was a little tighter on the crank drive pin than I like, so the slots in the drive disk were opened out with a diamond file. |
|
|
|
|
|
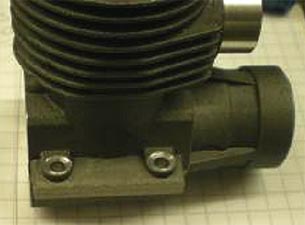
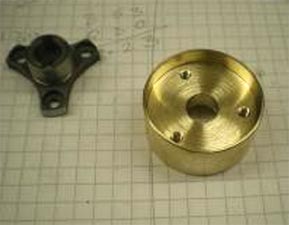
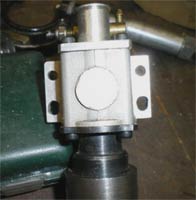
The crankcase had the holding down holes faced off so that the bolts have a flat surface to clamp against, and a fly wheel was machined up for the engine. |
All the parts were cleaned, then reassembled. During this process the end float on the crankshaft is set. This is to allow for the differential expansion between the steel crankshaft and the aluminium case. The exhaust timing is checked, the squish band clearance set, and the head volume checked, and in this case it needed to be increased slightly. All of it was lightly oiled during the process so the engine is now ready to run. No running in of these engines, just wears them out. Straight in the car and away.
|
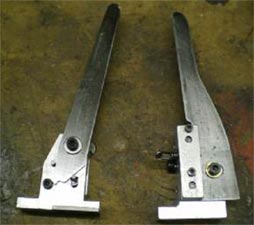
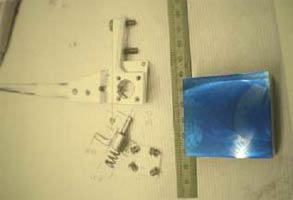
The cut-off on the left is a tube crusher type, which will allow me to stop the car and adjust the needle and get it away, unlike the flood-off type. I made the shut off, based on the one out of Steve’s 5cc car, which had to fit the existing holes and mounts in the car. Picture on the right shows it fitted. |
|
|
|
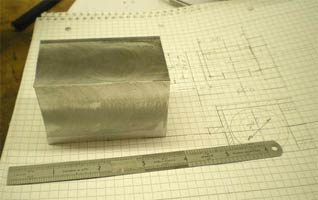
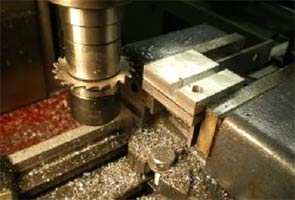
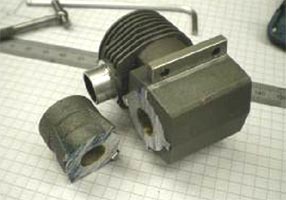
Proto 67 car The start of the gearbox for the Proto 67 car. A lot of material to be removed from the block of aluminium.
|
|
|
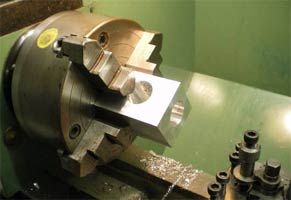
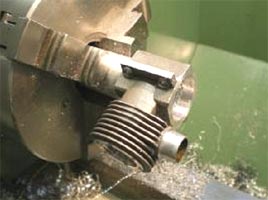
A fair bit of turning and milling before the casing is done. I have also started machining the bevel gears after a practice run in brass as I have never done this type of gear before.
On the FEMA front, a new set of regulations have been published, available on (www.speedmodelcar.com) The only significant changes are the use of electronics in cars and the inclusion of the WMCR 3.5cc class which is a streamliner car like the rest of the classes, with the exception of class 3 which is open wheel.
 |
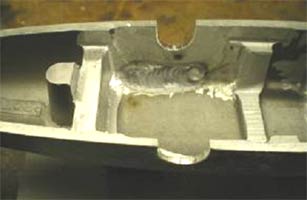 |
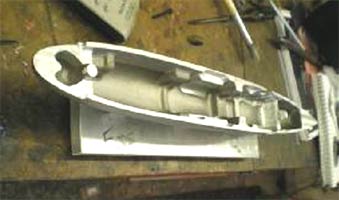
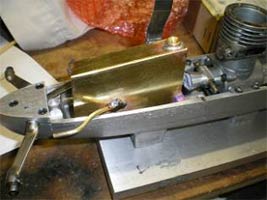
I have been working on the Proto 67 and whilst removing metal from the pan to fit the gearbox, I found a blow hole in the casting. We have discovered a local guy who does tig welding and for a fiver he filled the hole a neat job see picture on the right.
 |
 |
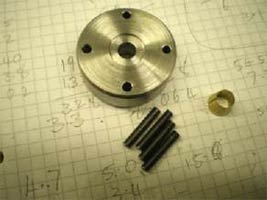 |
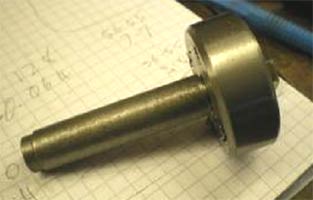
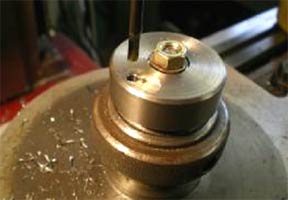
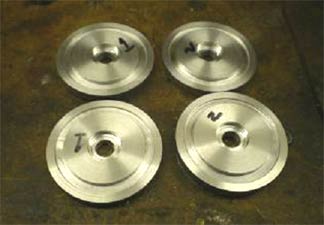
The flywheel is shown mounted on a mandrel so that it can held in the collet on my rotary table to drill the holes for the drive pins 4 off made from piano wire to get the size right for the holes I made a 'd' bit to do the final "reamed" size.
|
|
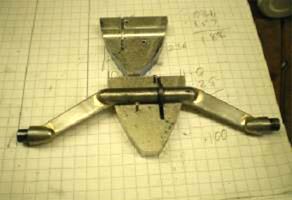
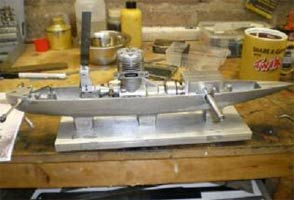
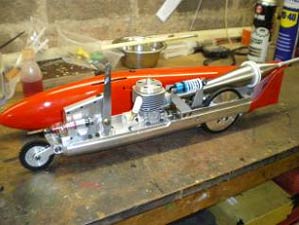
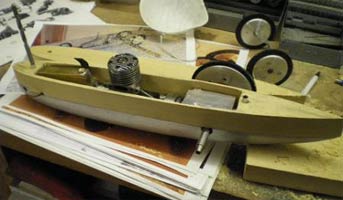
The engine and gear box are now bolted into the car and it’s all turning freely, now onto the front suspension, quite simple but has taken a lot of time to build.
|
 |
 |
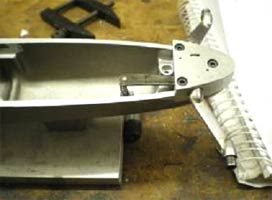 |
Above it’s finished and fitted to the car. The car has been built from pictures using a few knowns to get dimensions like the screw sizes and having the engine. The shut off was machined from the block of aluminium and one of the pictures I worked from.
 |
 |
 |
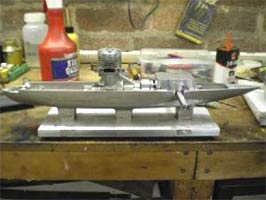
The chunk of aluminium with some of the machining operations done and a quite a few to go. The shut off fitted and it starting to look like a car. For wheels I am going to use worn modern 10cc tyres and rims that have had flats ground on them due to engine failure and machined back round and they look right being a smaller diameter. For the fronts these are going to be the rears from a 1.5cc car just need to make the hubs.
I have also been doing a few bits of work on pipes for Steve’s 10cc hydro.
 |
 |
| The pipe is steel and the new bits have all been silver soldered on. | |
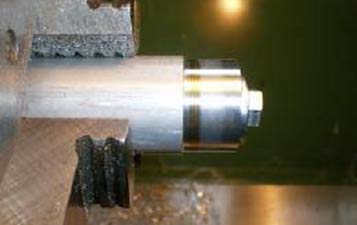
After Kapfenhardt I decided to do some work on my 2.5cc motor. The bottom end of the engine has always felt a little tighter that I would like and my other 2.5cc motor feels a lot better.
 |
 |
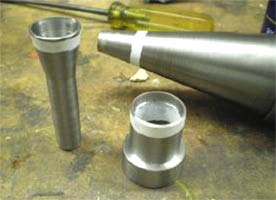
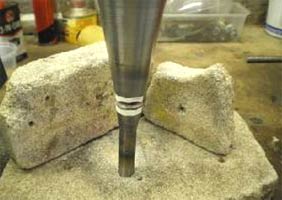
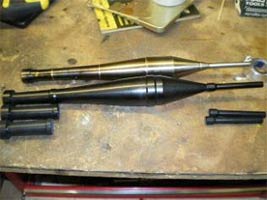
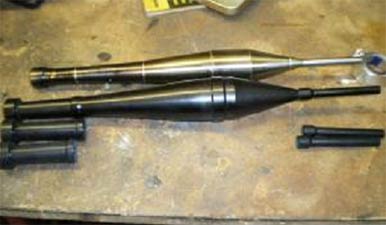
I cut off the front of the engine and bored it out so I could fit a new front end. This was machined from steel to get rid of any heat expansion problems. The design ideas were from Jan-Erik Falk and it certainly achieves the objective of keeping the bearings exactly in line.
 |
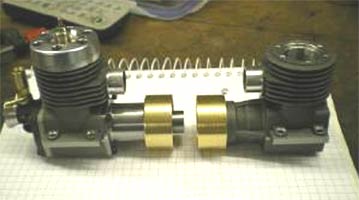 |
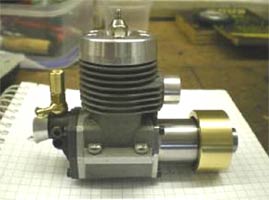
| The modified engine in the picture above and both my engines showing the unmodified one. | |
Every now and then I do a bit to the 5cc old timer car. I have made and fitted the tank, rubber mounted as the original. Most of the engineering is done and now I just need to make the front wheels. These will use modern 2.5cc rear car tyres. Then some woodwork to make the top.
 |
 |
The more I do to the 2.5cc car the slower it goes. I put a new front end on the engine. It felt nicer, the crank rocked backwards and forwards - slower. The gearbox was set up to take the notchy feel out of it - slower.
 |
 |
After Basel I stripped the engine and found that it had lost a circlip from the piston out of the exhaust but minimal damage and OK to use again after a bit of cleaning up. Other than that the engine was OK.
The gearbox was still not as free as I would like so it was stripped and cleaned and then reassembled. Decided to move the pinion gear back 0.1mm to see what happened. With the pinion bearing assembly in the gearbox case it spun freely, but when fully assembled it didn’t. The problem - the screw that holds the pinion assembly in place was too long, just touching the pinion shaft. With the screw a tiny bit shorter - a nice free gearbox.
The other job I have done is to fit a Stelling pipe rather than the one I made, it’s a bigger volume, a lot lighter and adjustable, I have had to put weights into the back of the car to get the balance right.
Steve and I went to Hanover to race. Friday was training day and I made the most of it trying to sort my 2.5cc car I had fitted with a new bigger volume Stelling pipe. I lost count of the runs I had but no real progress was made, other then eliminating a lot of options changing the stinger diameter, choice of 3 sizes and the header pipe, choice of 4.
For the race I put in the worn out original liner/piston. The speed was marginally better but it was not happy on that pipe and only made the low 230’s kph.
Bit stumped with it all, I was suffering from the car accelerating up and then slowing down again and on two of the runs it ran out of fuel. So back to the set-up that has worked in the past, the steel pipe I made. The other change is I put in a new liner/piston for this season.
 |
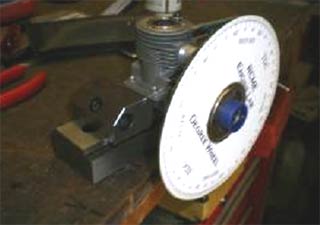 |
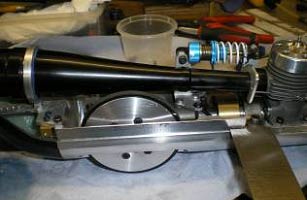
The picture above shows the two pipes, the steel one in the background, and the engine with a timing disk on. I checked the exhaust timing on both liners and it was different by a few degrees. I needed to shim the liner up to increase the timing to 196º -no shims.
 |
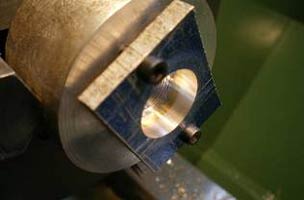 |
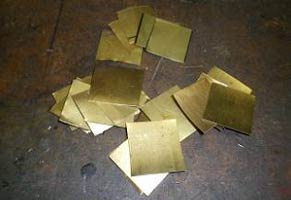
I make my own shims and it’s a fairly easy process. Cut up a variety of different thickness’ of shim brass above, then mount it in a simple fixture right, and bore it out to the OD of the liner or head.
 |
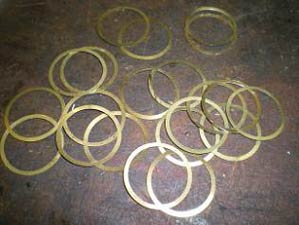 |
Machine up a mandrel to the ID of the shims, put them on the mandrel and clamp up. Use the front of the fixture from the previous operation as the clamp to hold them in place. Then machine the OD to size, lots of shims.
 |
 |
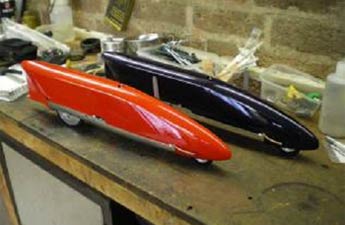
As the UK FEMA technical delegate, I get to see all the new cars for scrutineering. Two 3.5cc cars from Mart Sepp with Stelling modified Novarossi’s, the red one is my new toy.
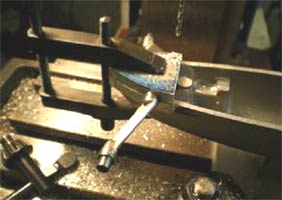
Back on the old timer car, sawing off aluminium blanks for the front wheels, four off required.
 |
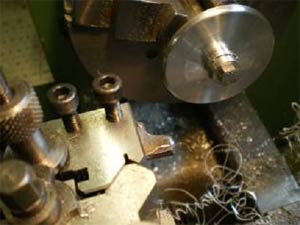 |
The wheels are a fairly standard design with the ball race in the centre of the wheel, one half a press fit and the other a slight clearance fit so you can get them apart. The other picture shows the form tool used to radius the rim, made from a bit of gauge plate left over from making tether arms. Gauge plate is a carbon steel that can be hardened and tempered, ideal for making this type of tool.
 |
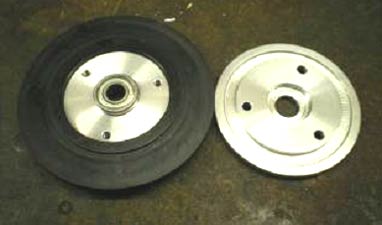 |
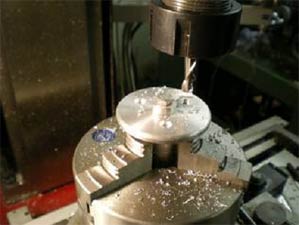
The pictures above show the holes being counter bored for the bolt heads and the finished wheel. The car is progressing well. It's now off the jig that was used to hold it while being machined, and the lugs have been cut off the pan so it's on it wheels. The jelutong is on the way to make the top so we may see the car finished by the spring.
 |
 |
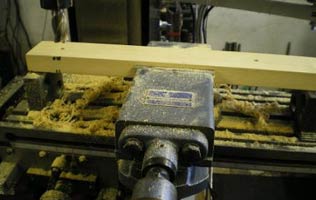
I have started on the woodwork for the 5cc old timer car. The wood used for the top is jelutong that was in rough sawn planks that were "planed" down in the milling machine. The method of construction was bread and butter to make the hollowing out a little easier.

The top on the car, and rough sanded to shape. Not quite as the original top but I think this looks better to me and is fairly period. Not much more can be done on the top as the workshop is too cold to cure epoxy, so I will make the air inlets and exhaust fittings ready to go in when its glass covered. Few other bits still to make including the tether arm and skid, so it should be ready to race next year.
 |
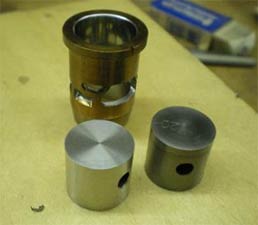 |
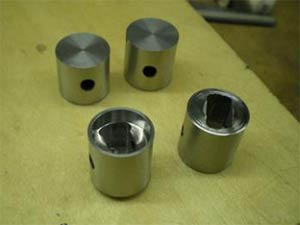
The original liner piston I have for the 2.5cc engine is a Picco one and was the fastest, but it is now worn out and no more are available. So, after some discussions and a few sketches from Jan-Erik Falk, I have a new challenge, making pistons for an ABC engine. The pictures above show progress to date. The picture on the left shows the first attempt, the milling cutter came a little loose and cut deeper and deeper and ruined the first pair of pistons, but at least I have something to practice cutting the circlip grooves on. The picture on the right shows a piston from the second attempt, which just needs final machining to size and the circlip grooves.
This is the engine from the latest project, the ex Stan Barrett, Class 1 car that is having a complete rebuild as it is seriously over weight.
 |
 |
If anybody knows what this motor is, please let me know? oliver.monk@btinternet.com The mounting holes have also been messed about with so the crankcase has been sent to the welder to be filled, along with a Super Tigre 40 that has had similar treatment to the holes.
Well that’s it for this year, plenty to keep me occupied over the winter.
©copyrightOTW/OllyMonk2013